MCUXpresso 2.15.0 Development using MCUXpresso for VS Code extension
Overview
This guide demonstrates how to develop, cross compile and debug applications for the VAR-SOM-MX8M-NANO Cortex-M7 co-processor using NXP’s MCUXpresso for Visual Code extension.
Please visit Variscite's MCUXpresso Guide for additional information about manually building demos, integration with Yocto, running applications from U-Boot and Linux, and JTAG debugging.
Hardware
JTAG Debbugger: J-Link PLUS: https://www.segger.com/products/debug-probes/j-link/models/j-link-plus/
9-Pin Cortex-M Adapter: https://www.segger.com/products/debug-probes/j-link/accessories/adapters/9-pin-cortex-m-adapter/
Variscite Board: Symphony-Board
Host Computer Environment Setup
Follow the steps below to prepare a fresh Ubuntu 22.04 installation for using the extension.
Note: cmake 3.20.5 is the required minimum version supported by MCUXpresso for VS Code extension and it is not supported by older Ubuntu versions.
Install Dependencies
In order to access serial debugging ports your user must be in the ‘dialout’ group. To check this type:
The above command will print all group memberships of the current user. If ‘dialout’ it is not printed, add your user to it:
and either logout or restart your computer for the changes to take effect.
Download MCUXpresso SDK for the SOM:
mkdir -p ~/var-mcuxpresso/mcuxpresso-examples
cd ~/var-mcuxpresso
git clone https://github.com/varigit/freertos-variscite -b mcuxpresso_sdk_2.15.x-var01
Install VS Code
Install MCUXpresso for VS Code Extension
VS Code has a graphical interface for installing and managing extensions. To learn more, please see Using extensions in Visual Studio Code
For this guide, we will install the MCUXpresso for VS Code extension:

Install MCUXpresso Dependencies
In the extension ‘Welcome' tab, click on ‘Check Tool Dependencies’, ‘Open Installer’ and then, on the bottom right notification, 'Download’:

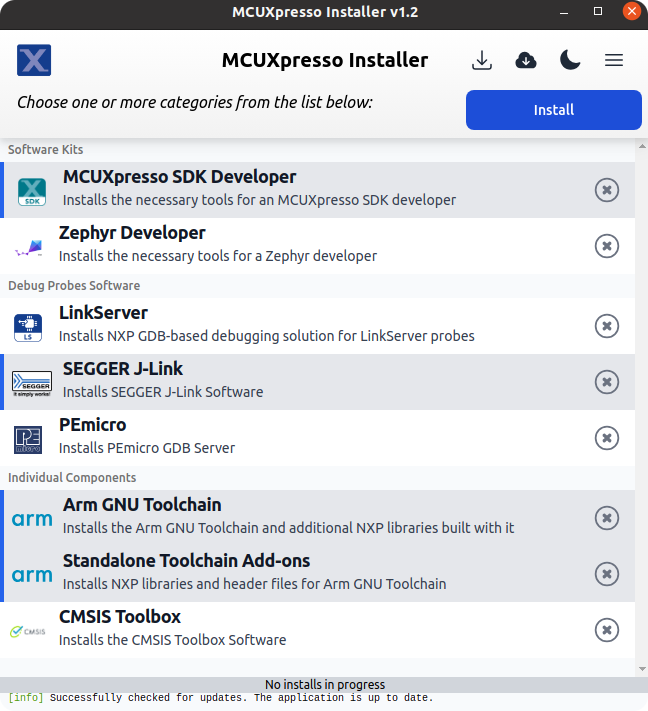
Once the download finishes, the MCUXpresso Installer window will be displayed, showing multiple tools to install. For this guide we will install the following:
- MCUXpresso SDK Developer;
- SEGGER J-Link;
- Arm GNU Toolchain;
- Standalone Toolchain Add-ons.
Open a Demo in VS Code
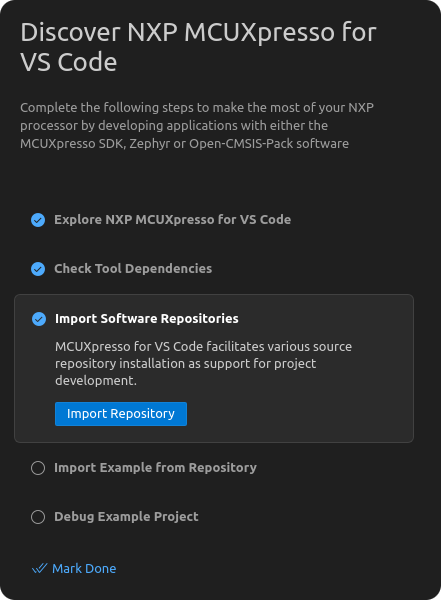
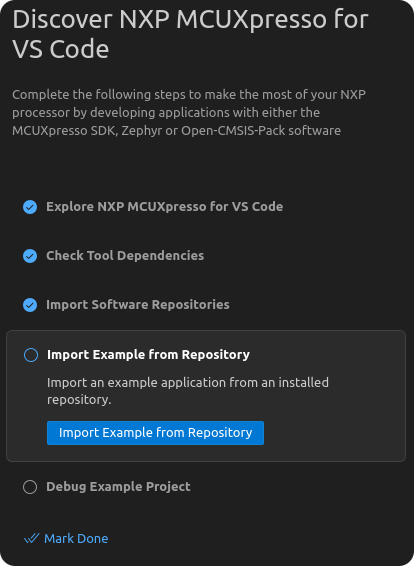
After the dependencies are installed, close the MCUXpresso Installer and click on ‘Import Software Repositories’:
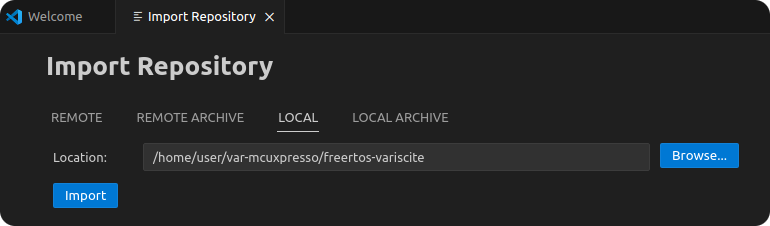
Go to the 'Local' tab, browse the previously git-cloned repository and import it:
Click on ‘Import Example from Repository’:
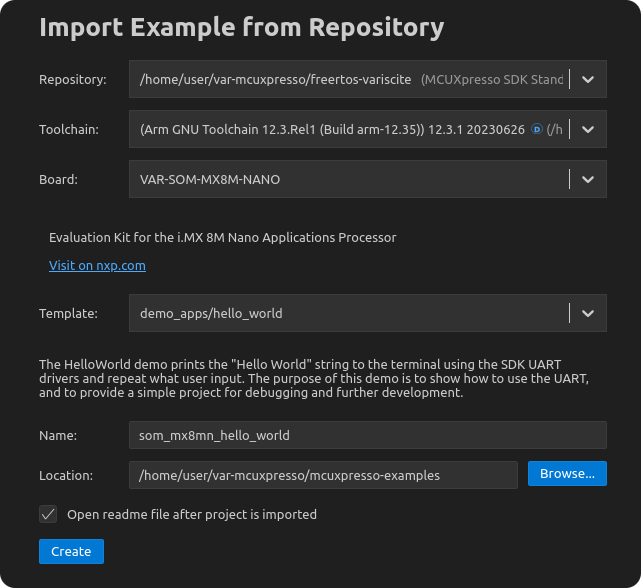
Select the previously imported repository, the Arm GNU Toolchain (the Toolchain version might differ), the VAR-SOM-MX8M-NANO board and the hello world demo. Use the previously created 'mcuxpresso-examples' directory for the 'Location':
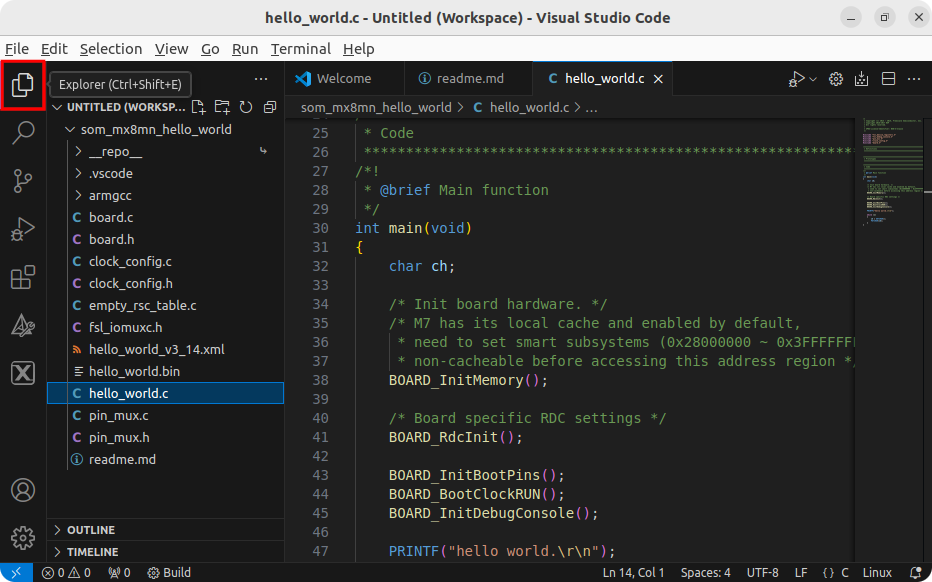
Click on 'Explorer' on the left upper corner to open the project source code:
Build Demo using VS Code
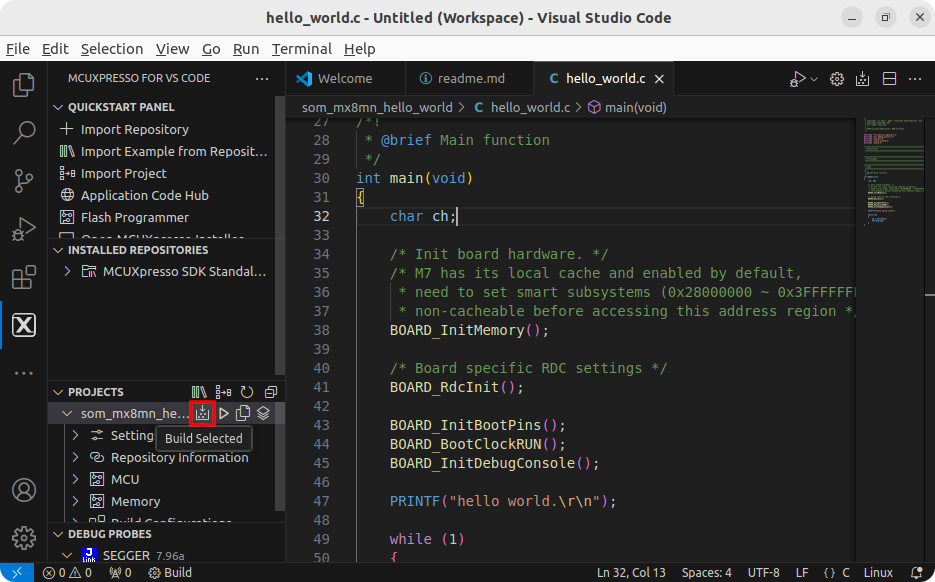
To build the project click on MCUXpresso for VS Code icon on the left and on 'Build Selected':
If the build task completes successfully, a similar output as below should be generated:
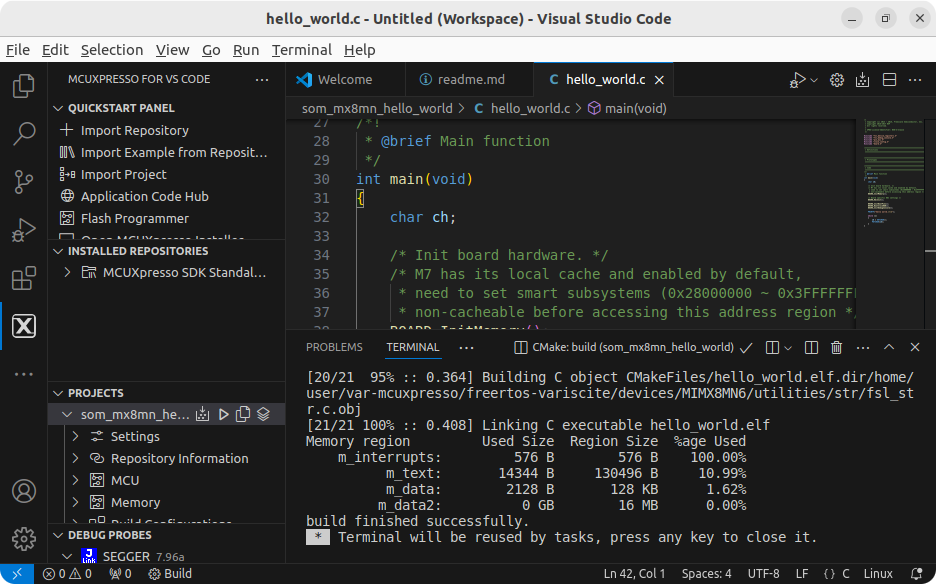
Please visit Variscite's MCUXpresso Guide for instructions to run the demo using U-Boot or the Linux Remote Processor Framework.
Debugging with VS Code
Test Enviroment
Connect Hardware
Connect J-Link PLUS to JTAG connector of Variscite board
Connect J-Link PLUS to Development PC via USB cable
Load dedicated device tree
Please visit Variscite's MCUXpresso Guide for instructions to load a dedicated device tree.
For this example we will use imx8mn-var-som-symphony-m7.dtb:
From U-Boot
 => setenv fdt_file imx8mn-var-som-symphony-m7.dtb
 => saveenv
 Saving Environment to MMC... Writing to MMC(1)... OK
 Power off / Power on the board
Or, from Linux
Start Debugging
Make sure the Debug Probe is correctly identified by the extension:
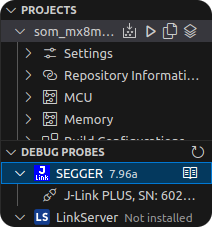
If it is not, check your connections and restart VS Code.
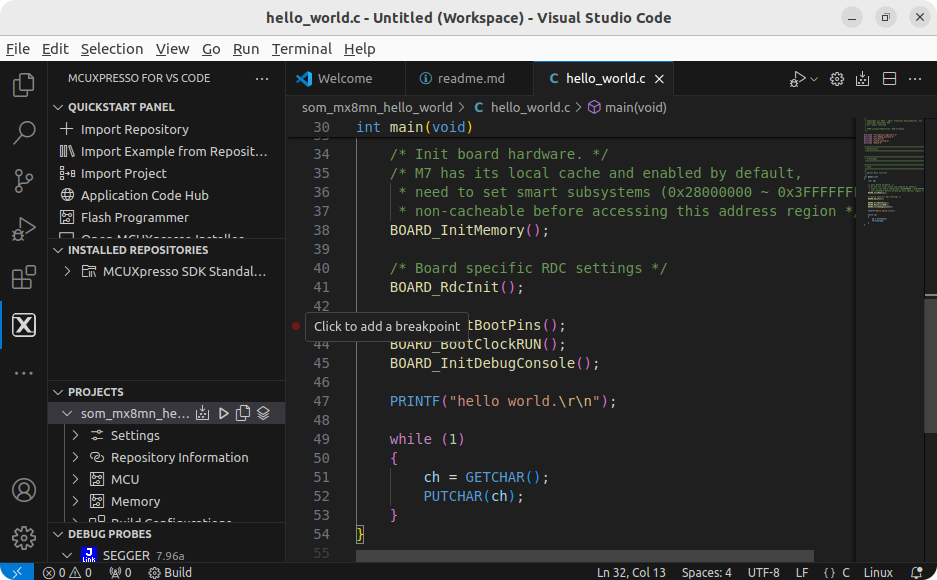
Open source code and add a breakpoint:
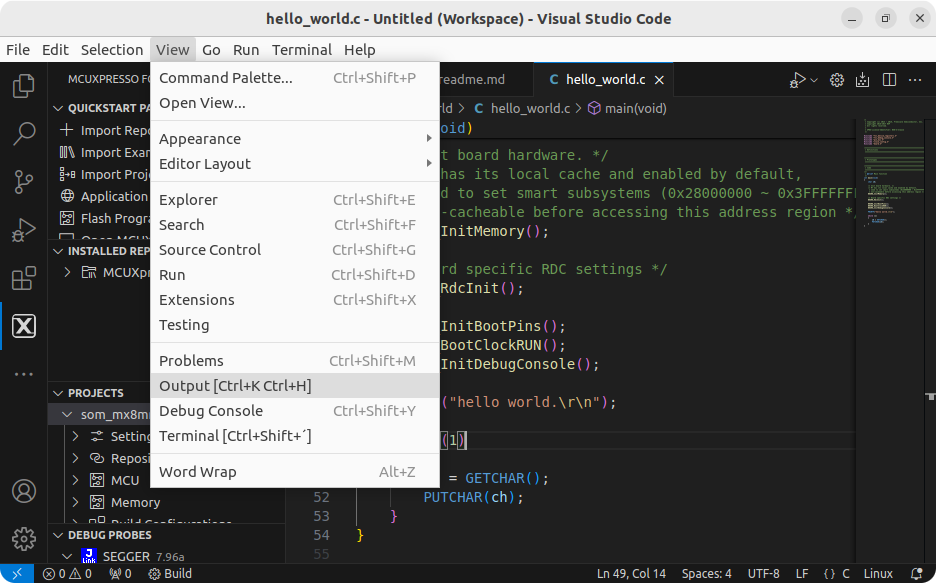
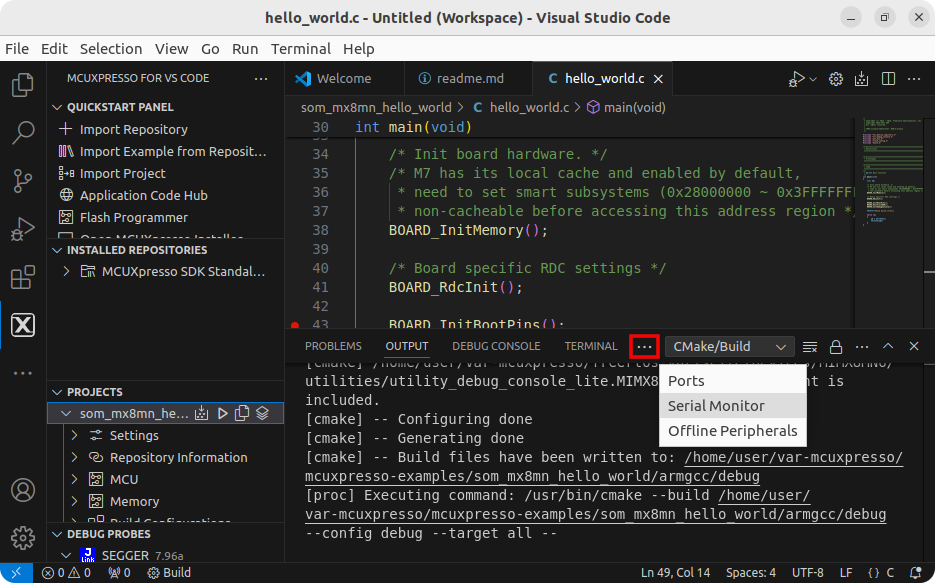
Open the serial debugging port by clicking ‘View' → ‘Output’ → ‘…’ → 'Serial Monitor’:
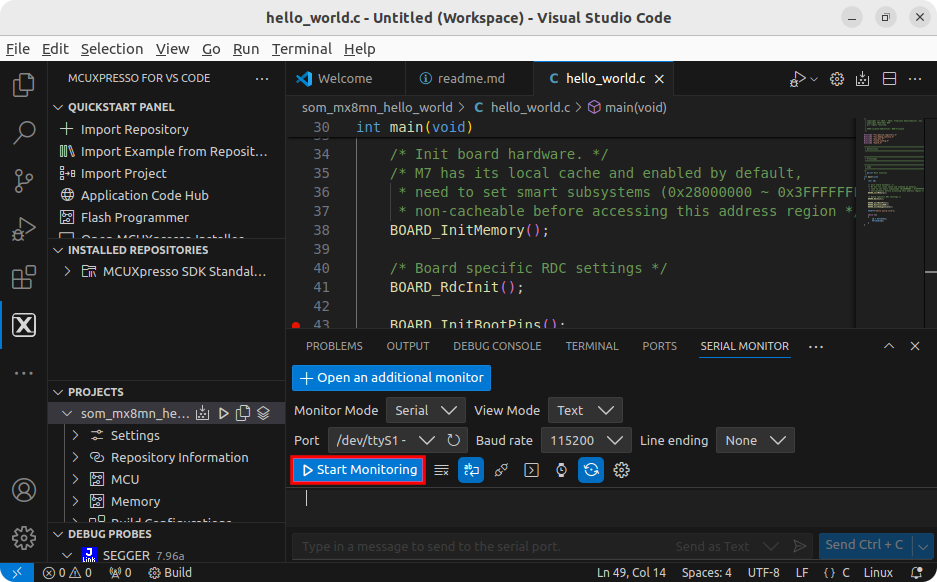
Select the appropriate serial port (it is usually /dev/ttyUSBx) and click on 'Start Monitoring':
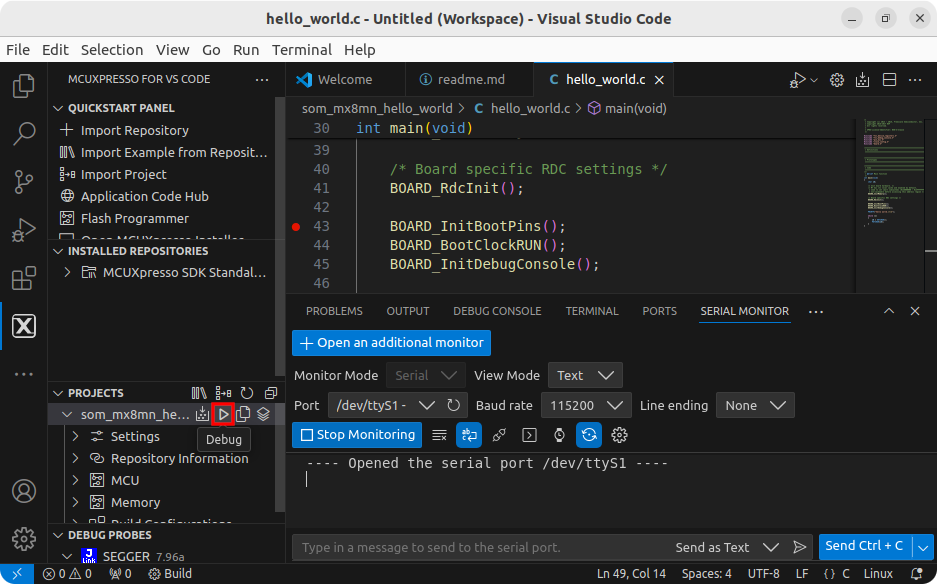
Click on 'Debug' to start debugging:
Click on 'Continue' (or press F5) until the breakpoint is reached:

After reaching the breakpoint, click on 'Step Over' (or press F10) to go line by line:

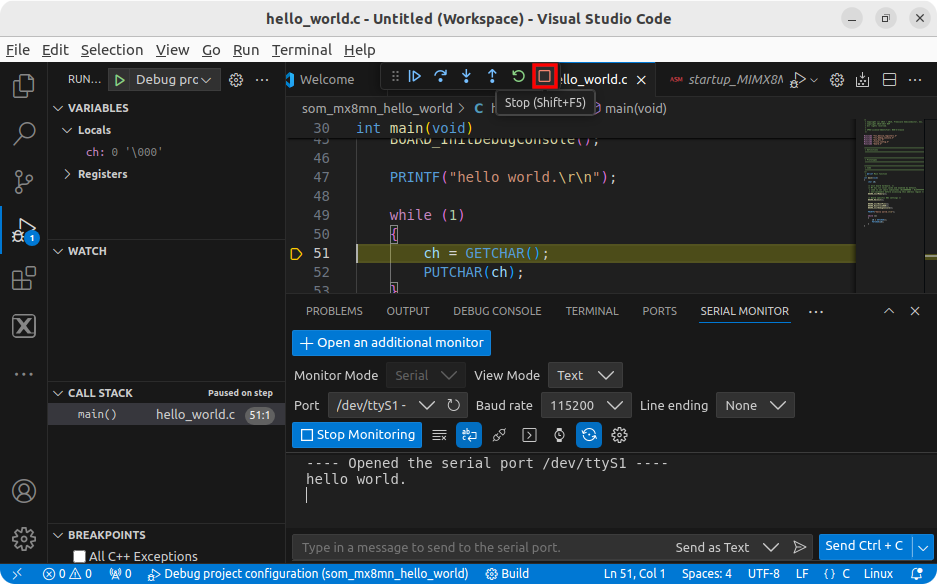
Right after stepping over the PRINTF line, a 'hello world' string should be printed on the serial monitor:

To end the debugging session, press the ‘Stop’ button: